How to Install ffmpeg on macOS with Homebrew: Commands, Verification, and Usage Examples

ffmpeg is an open-source tool for converting, encoding, and editing video and audio from the command line. On macOS, Homebrew handles all dependencies automatically, making installation straightforward.
Installing Homebrew
If you haven’t installed Homebrew yet, paste the following into Terminal:
/bin/bash -c "$(curl -fsSL https://raw.githubusercontent.com/Homebrew/install/HEAD/install.sh)"
Installing ffmpeg
With Homebrew set up, install ffmpeg in one command:
brew install ffmpeg

Once complete, the ffmpeg command is immediately available.
Verifying the Installation
Check the installed version:
ffmpeg -version
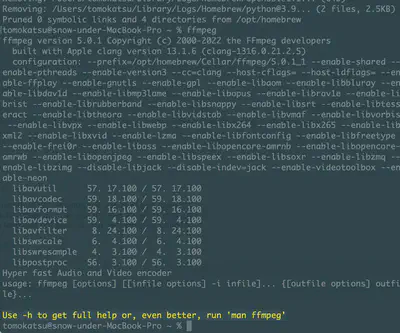
ffmpeg version 5.0.1 Copyright (c) 2000-2022 the FFmpeg developers
built with Apple clang version 13.1.6 (clang-1316.0.21.2.5)
libavutil      57. 17.100 / 57. 17.100
libavcodec     59. 18.100 / 59. 18.100
libavformat    59. 16.100 / 59. 16.100
brew upgrade ffmpeg.Checking Available Codecs
The Homebrew ffmpeg formula includes many codecs. To see what is available:
ffmpeg -codecs | grep -E "h264|hevc|vp9|av1"
On Apple Silicon Macs (M1/M2/M3), hardware encoding via h264_videotoolbox and hevc_videotoolbox is also available — significantly faster than software encoding.
Common Usage Examples
Convert to MP4 (default settings):
ffmpeg -i input.mov output.mp4
Encode to H.265 (HEVC) with software encoder:
ffmpeg -i input.mp4 -c:v libx265 -crf 28 output.mp4
Use Apple Silicon hardware encoding (hevc_videotoolbox):
ffmpeg -i input.mp4 -c:v hevc_videotoolbox -q:v 50 output.mp4
Tomokatsu Yukishita (雪下 智且)
Engineering Manager / Real Estate Transaction Agent
Engineering manager connecting embedded development with cloud and AI. I apply quality standards from mission-critical systems to modern product and development workflows.